How to Set up an Aternos Server
Everyone loves playing Minecraft maps with their friends. Sometimes, it can be hard to find a good way to do it! Whether you need a server to run a map or you just want to play Vanilla Minecraft, I’ve got you covered with the perfect solution for all of your multiplayer needs!
In this guide, I'm going to show you how to set up and host your own Minecraft server for free using the server host, Aternos. I will also show you how to upload maps as well as create normal survival worlds using this service!
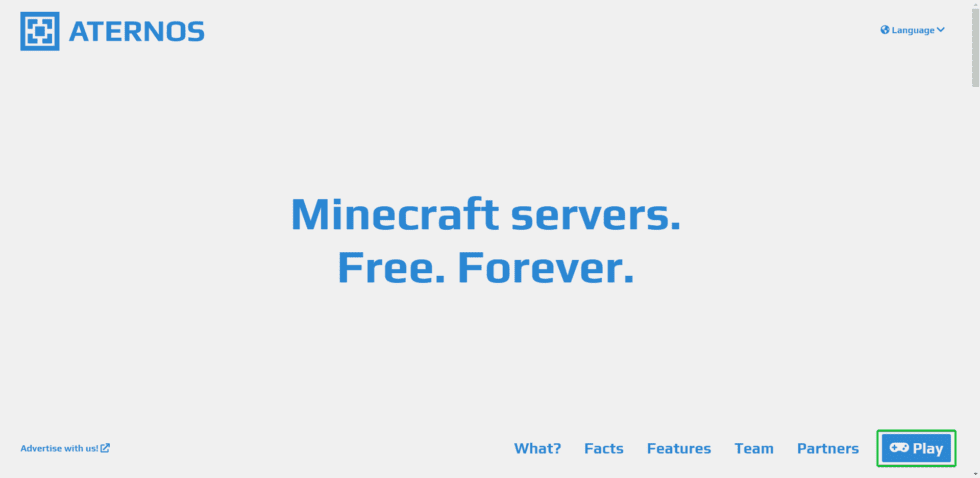
In order to set up your own Minecraft server, you’ll need to start by setting up an Aternos account. You can do so by going to their website. Once you have created an account, you need to hit the play button at the bottom right of your screen. If it doesn’t show up for you right away, try scrolling down until you see it.
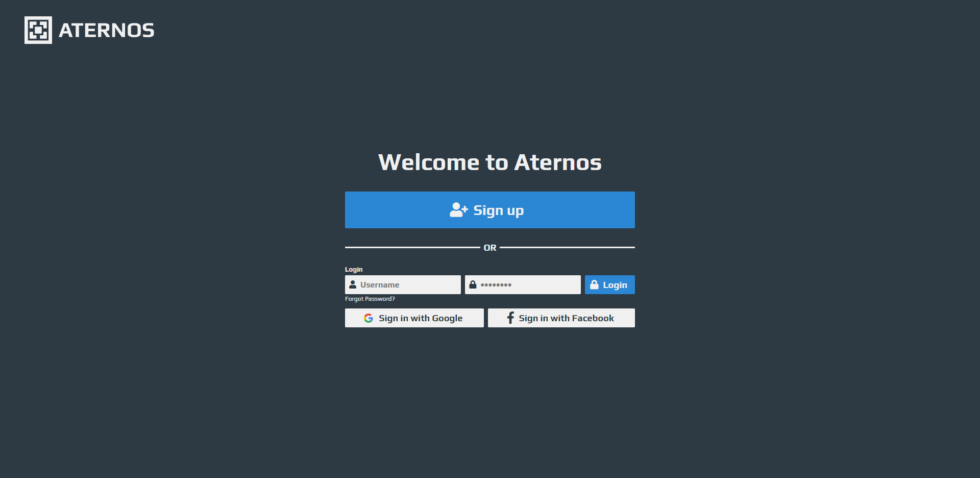
Once you click that button, it will take you to a login or signup page. After you do so, it will ask you to create an account with Aternos or log into a pre-existing account if you previously made one.
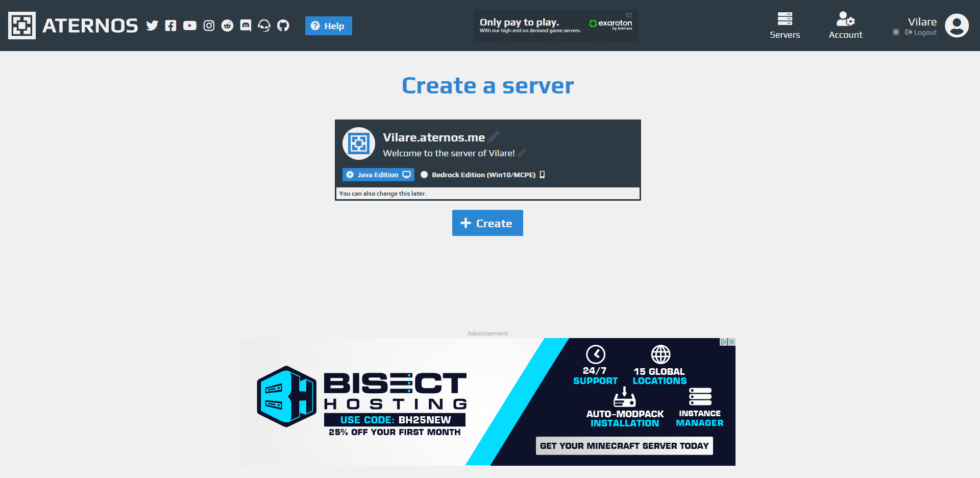
After signing up or logging in, you will be taken to your account panel where you can create a server. There will be a green button that says “Create” on the homepage which you need to click. It will bring up a server profile and another blue button that says “Create”. Click both of them to start up your new server.
If you’re planning on playing the latest version of Minecraft in a random vanilla seed, then you don’t need to make any changes here. You can just press start and play with your friends by giving them the IP! If you need to upload a specific map onto your server, follow the next session!
How to Upload a Map to your Aternos Server
Maps typically require earlier versions of Minecraft because they take a large amount of effort to renovate with each new update. If the map you’re interested in playing needs a different version of the game, you can click the green “Change” button in the versions section.
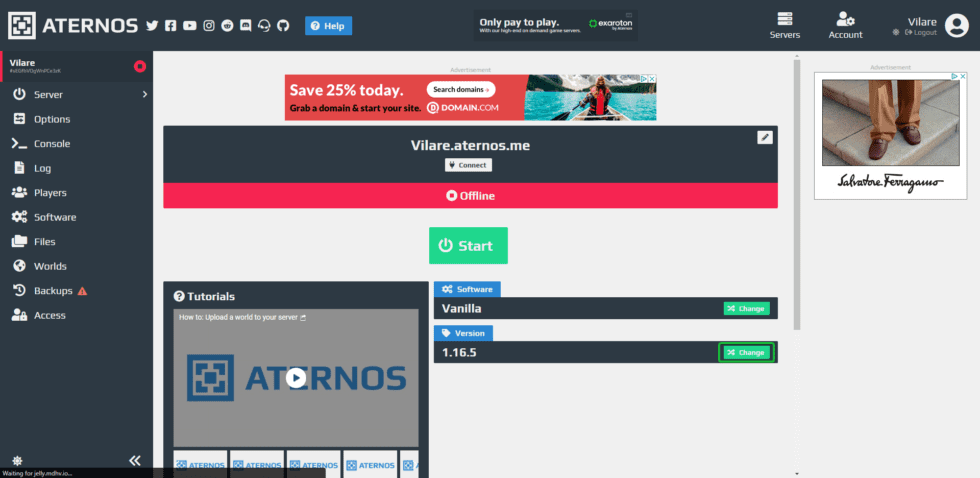
After hitting the change button it will bring up a menu of different versions of Minecraft. Choose whichever version you need for the map you plan on playing.
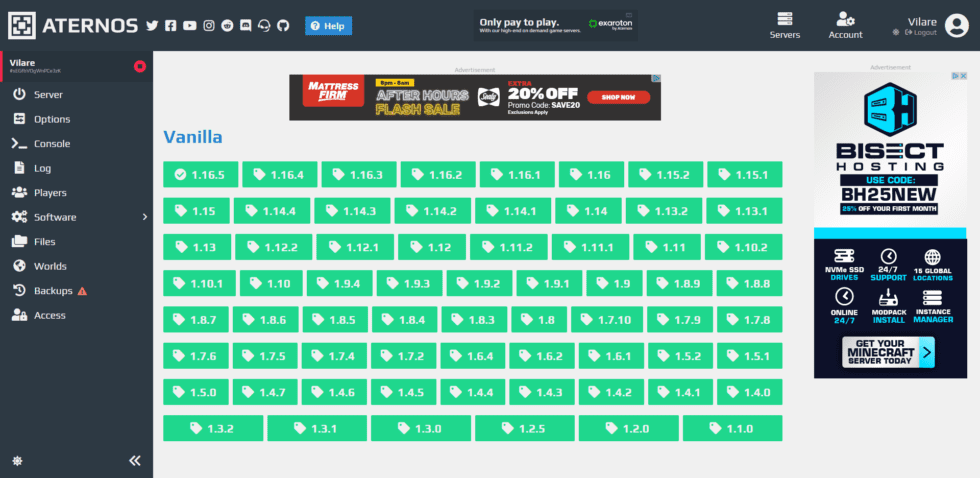
Once you select the correct version, it’s time to upload your map! To do so you’ll need to click the “Worlds” option on the left sidebar. This will take you to a new page where you can either reset your world or upload a new one in its place. For the purposes of our tutorial, we’ll be showing you how to upload a map which will require you to click the orange “Upload” button.
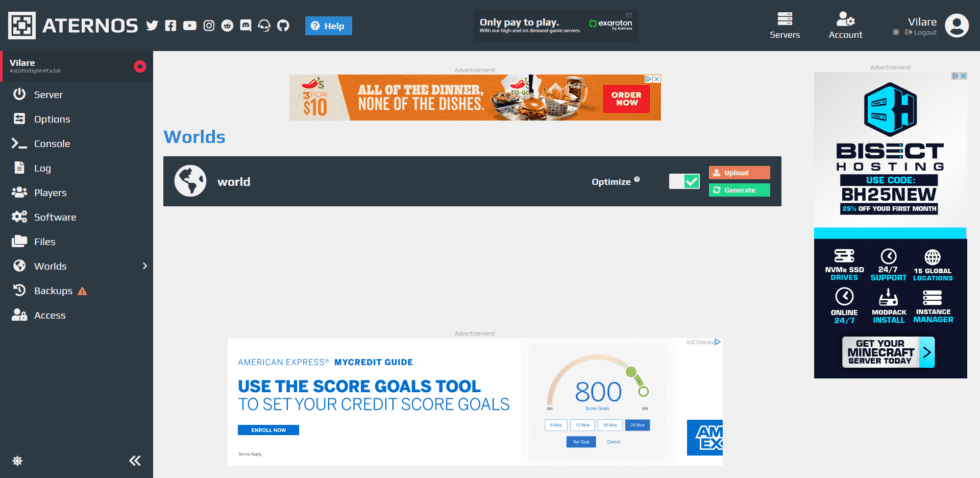
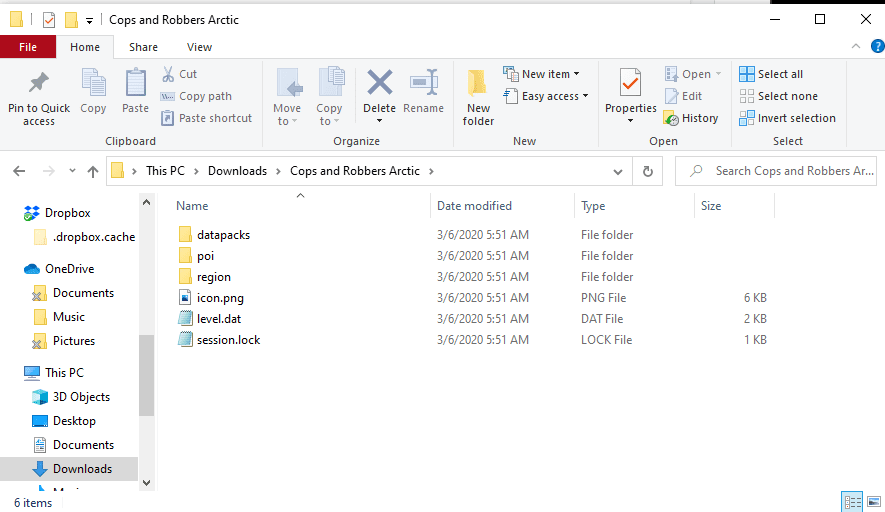
When you click on the drop-down it’ll ask you to upload the map in either a zip file format or to upload the contents of a folder. In order to do that you need to make sure that you upload the folder with the map contents alone, or else it won't work. That’ll look something like the picture below for more recently developed maps.
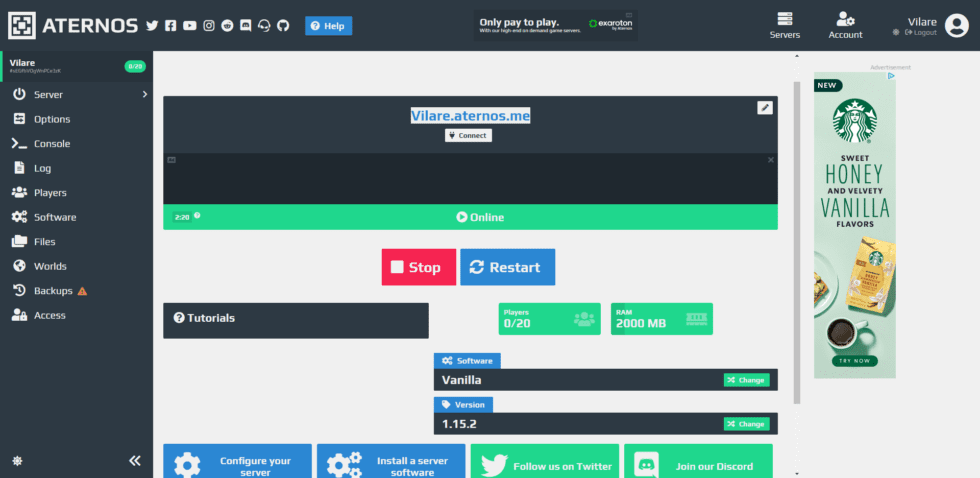
Once uploaded you can go back to the homepage and start your server! It should load you into the map once your server is online. Keep in mind that sometimes it takes a while for a server to start up as there can be a queue of people waiting to join as well as general start-up delays. You’ll hear a notification go off once your server is up and running. You can join by using the IP address that is shown in your server tab.
That’s a wrap!
I hope you found this blog post helpful! We at Podcrash hope you have fun with your friends and get to enjoy the numerous amount of maps that are out there for players to enjoy!
Make sure to subscribe to our newsletter and follow our social media accounts on Twitter and Instagram for more updates and helpful tutorials on everything Minecraft! You can also check out and play some of the amazing games that our team has made for both Minecraft Bedrock and Java editions!
Subscribe to our email newsletter and unlock access to members-only content and exclusive updates.

Comments